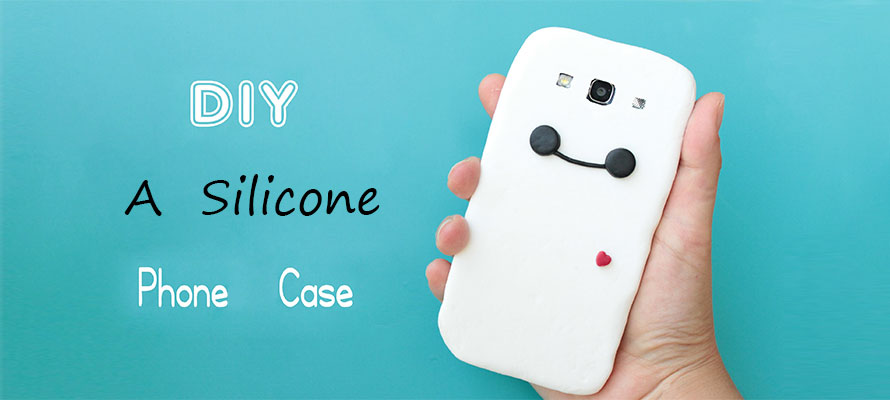
Walking on the way, we can see people wearing a variety of phone cases for their mobile phones. A phone case is not only a great way to protect your phone, but also a cool accessory to show your sense of style. A good phone case is one of life's greatest little joys. But instead of buying a new one every so often, why not considering a DIY creation yourself? How to make your own phone case at home? In fact, it is not so complicated. In this post, we will invite you make a silicone phone case.
1. Put on plastic gloves and protect your work surface. Cover your counter with plastic wrap, parchment paper, or wax paper. You can also work on top of a marble counter or a glass sheet instead.
● Try to work in a well-ventilated area. Silicone can have a strong odor.
● The silicone used in this method is not the same as hot glue.
2. Measure out your cornstarch and clear silicone. Pour some cornstarch onto a smooth counter or into a glass bowl, then squeeze some clear silicone onto it. The measurements don't have to be precise; you just want to have more cornstarch than silicone. Plan on using about 5 tablespoons (50 grams) of cornstarch and 2 to 3 tablespoons (30 to 40 grams) of silicone.
● Make sure that you are using clear silicone. You can find it in home improvement stores. It comes in a syringe.
● If you can't find cornstarch, look for cornflour. You can also use potato starch instead.
3. Consider adding some color. You don't have to do this, but it a good way to make your phone case look more interesting. If you don't do this, your phone case will look white. You use a few drops of liquid dye, liquid watercolor, food coloring, or acrylic paint.
4. Knead everything together until the silicone turns to dough. You will need to knead it about 20 times or so. You won't pick up all of the cornstarch, which is normal. The dough may look crumbly at first--just keep kneading!

5. Roll the dough into a flat sheet. You can do this with a rolling pin, a glass, a wine bottle, or even a spray paint can. Keep rolling until you have a sheet a little larger than your phone. It should be about ⅛ inch (0.32 centimeter) thick.
6. Place your phone on top of the sheet. Make sure that your screen is facing upwards, and you have equal amounts (or close to it) of dough sticking out over each side.
7. Wrap the dough over the sides and top of your phone. Slide a paint spatula under the dough, then lift it up and fold the dough over the sides of the phone. Smooth out any creases or wrinkles; try to be as neat as possible.
8. Use stamps to indent designs, if desired. Flip your phone over and dust it with cornstarch. Use a stamp to indent designs into it. You can also use cardboard cutouts instead to create your own, unique designs. Lift the stamp away when you are done.
● If you want to make a quilted design, let the silicone harden for about 10 to 20 minutes, then dust it with cornstarch. Use a knife to make cross-crossing diagonal lines in a diamond/quilted pattern.

9. Let the silicone dry before removing it. How long this takes depends on the type of silicone you used and the weather condition. It may take just two hours, or it may take 24 hours. Once it is dry and solid to the touch (you can't dent it), pull it off of your phone.
● If the case is dusty inside, wipe it down with a damp cloth.
10. Trim the excess silicone away from the front. Cut it about 7 millimeters away from the side edges, and 1 centimeter away from the top and bottom edges. Alternatively, you can cut along the indentations caused by the seam between the phone's screen and case.
11. Cut out any indentations. If you were to look inside your cell phone case, you'd see little indents caused by the camera, flash, buttons, and sockets. Cut all of these out using a sharp craft blade.
● You can also carve a rectangle or trapezoid into the top and/or bottom edge for the speaker instead of cutting out a slot.
12. Sand the case smooth, if desired. You can apply more raw silicone on top if you want to, then smooth it out with a paint spatula or popsicle stick.
13. Paint the stamped areas with nail polish, if desired. Choose a color that goes well with your case. Metallic colors, such as silver, work especially well!
● You can make more shapes out of silicone separately, let them dry, paint them with nail polish, then glue them to the case with a drop of clear silicone.

After reading this article, is it not very simple? DIY phone cases would make fun and inexpensive gifts for family and friends. Let's do it now, then you can show them that this is a phone case of hand made by yourself. Don't you think it is awesome? On the other hand, if you think it's too troublesome and don't want to DIY by yourself, there are kinds of cheap and fashionable phone cases on GearVita for you to choose.